A couple of times I’ve wanted to get information from documentation into my program for example, from

I want to extract
- “cics:operator_class” :
"set","add","remove","delete" - “cics:operator_classes”: N/A
then extract those which have N/A (or those with “set” etc).
Background
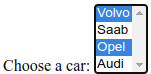
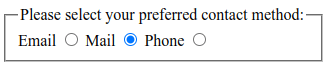
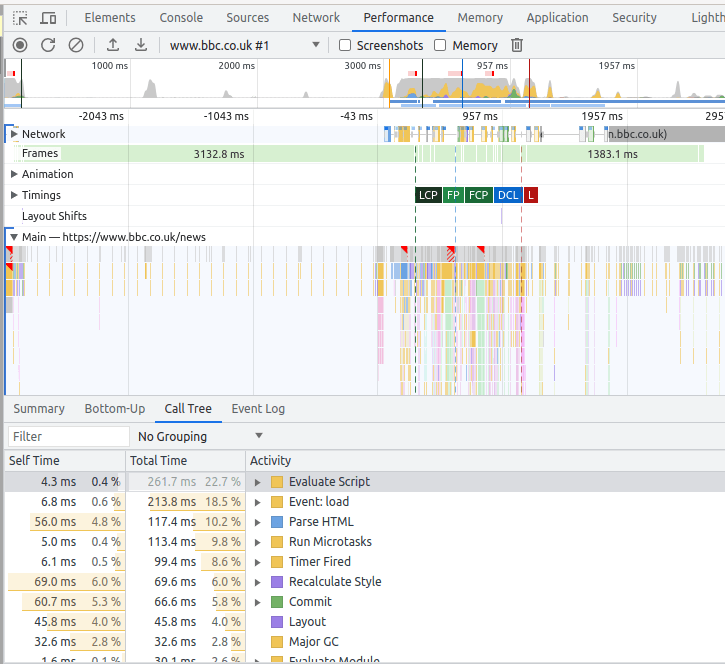
From the picture you can see the HTML table is not simple, it has a coloured background, some text is in one font, and other text is in a different font.
The table is not like
<table>
<tr><td>"cics:operator_classes"</td>...<td>N/A</td></tr>
</table>
and so relatively easy to parse.
It will be more like one long string containing
<td headers="ubase__tablebasesegment__entry__39 ubase__tablebasesegment__entry__2 "
class="tdleft">
</td>
<td headers="ubase__tablebasesegment__entry__39 ubase__tablebasesegment__entry__3 "
class="tdleft">
'Y'
</td>
Where  . is a non blank space.
Getting the source
Some browsers allow you do save the source of a page, and some do not.
I use Chrome to display and save the page.
You can use Python facilities to capture a web page.
My first attempt with Python
For me, the obvious approach was to use Python to process it. Unfortunately it complained about some of the HTML, so I spent some time using Linux utilities to remove the HTML causing problems. This got more and more complex, so I gave up. See Getting table data out of html – unsuccessfully.
Using Python again
I found Python has different parsers for HTML (and XML), and there was a better one than the one I had been using. The BeautifulSoup parser handled the complex HTML with no problems.
My entire program was (it is very short!)
from lxml import etree
from bs4 import BeautifulSoup

utf8_parser = etree.XMLParser(encoding='utf-8',recover=True)

# read the data from the file
file="/home/colin/Downloads/Dataset SEAR.html"
with open(file,"r") as myfile:
    data=myfile.read()

soup = BeautifulSoup(data,  'html.parser')
#nonBreakSpace = u'\xa0'
tables = soup.find_all(['table'])
for table in tables:
    tr = table.find_all("tr")
    for t in tr:
        line = list(t)
        if len(line) == 11:
            print(line[1].get_text().strip(),line[7].get_text().strip())
        else:
            print("len:",len(line),line)
quit()
This does the following
- file =… with open… data =… reads the data from a file. You could always use a URL and read directly from the internet.
- tables = soup.find_all([‘table’]) extract the data within the specified tags. That is all the data between <table…>…</table> tags.
- for table in tables: for each table in turn (it is lucky we do not have nested tables)
- tr = table.find_all(“tr”) extract all the rows within the current table.
- for t in tr: for each row
- line = list(t) return all of the fields as a list
the variable line has fields like
' ',
<td><code class="language-plaintext highlighter-rouge">"tme:roles"</code></td>,
' ',
<td><code class="language-plaintext highlighter-rouge">roles</code></td>,
' ',
<td><code class="language-plaintext highlighter-rouge">string</code></td>,
' ',
<td>N/A</td>,
' ',
<td><code class="language-plaintext highlighter-rouge">"extract"</code></td>,
' '
- print(line[1].get_text().strip(),… takes the second line, and extracts the value from it ignoring any tags (“tme:roles”) and removes any leading or trailing blanks and prints it.
- print(…line[7].get_text().strip()) takes the line, extracts the value (N/A), removes any leading or trailing blanks, and prints it.
This produced a list like
- “base:global_auditing” N/A
- “base:security_label” “set””delete”
- “base:security_level” “set””delete
I was only interested in those with N/A, so I used
python3 ccpsear.py |grep N/A | sed 's.N/A.,.g '> mylist.py
which selected those with N/A, changed N/A to “,” and created a file mylist.py
Note:Some tables have non blank space in tables to represent and empty cell. These sometimes caused problems, so I had code to handle this.
nonBreakSpace = u'\xa0'
for each field:
  if value == " ":
    continue
  if value ==  nonBreakSpace:
    continue